Flavor Showcase
We’ll try to do the following thing:
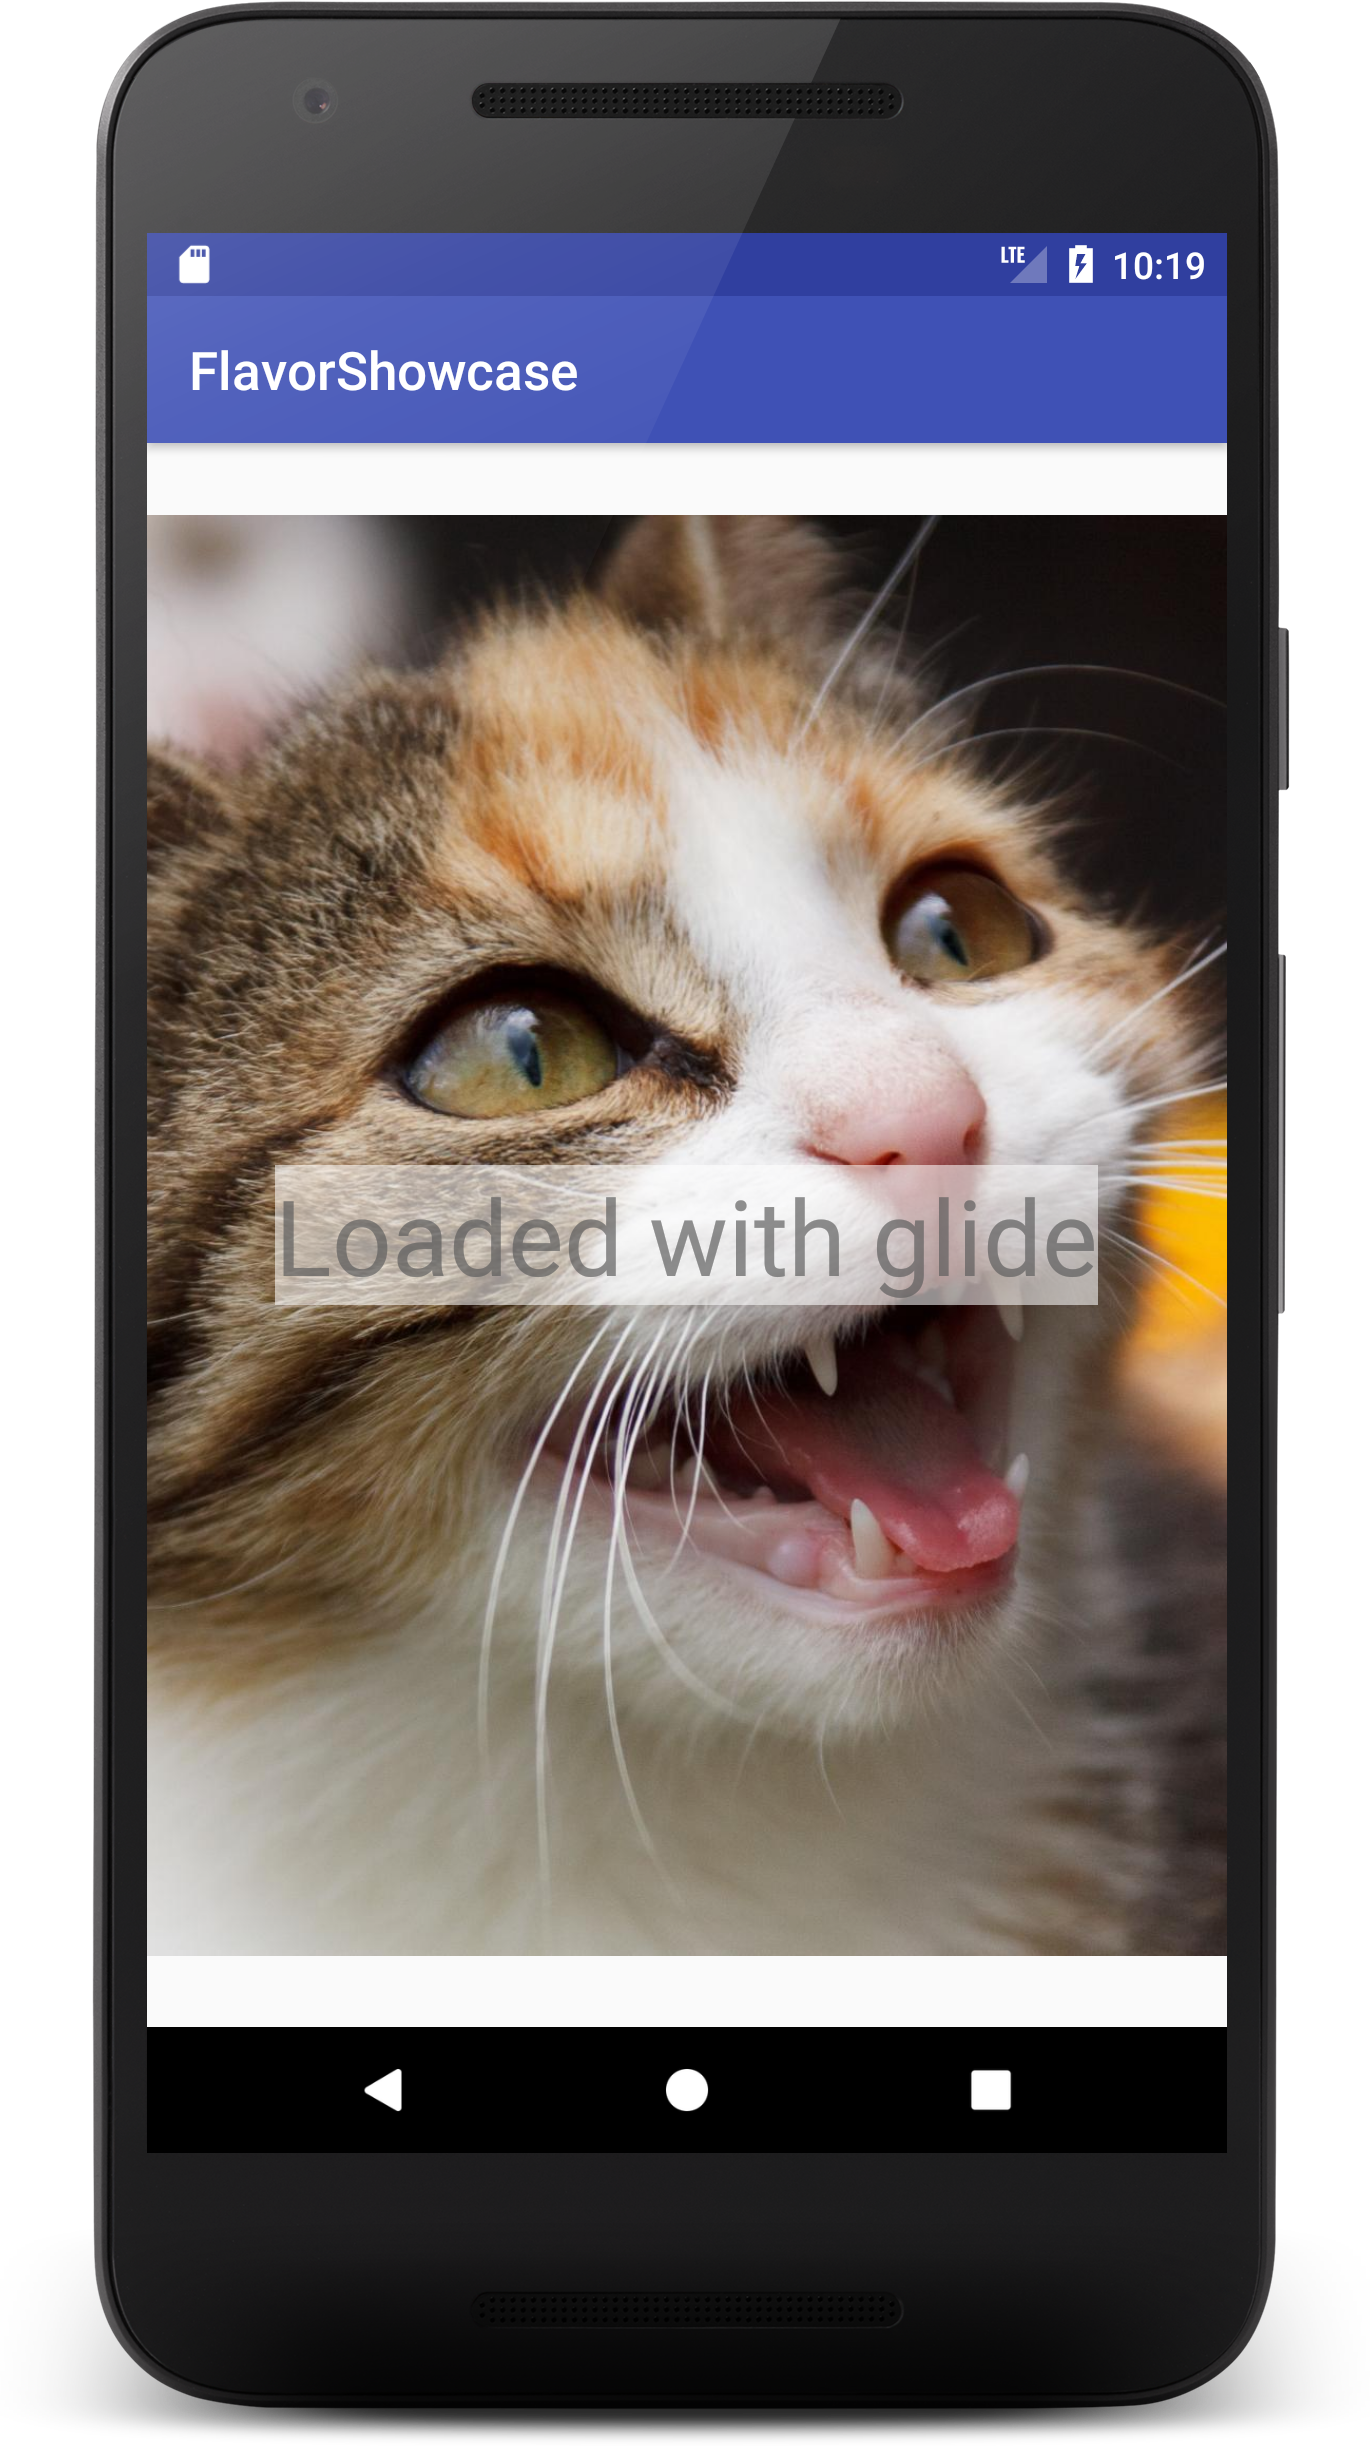
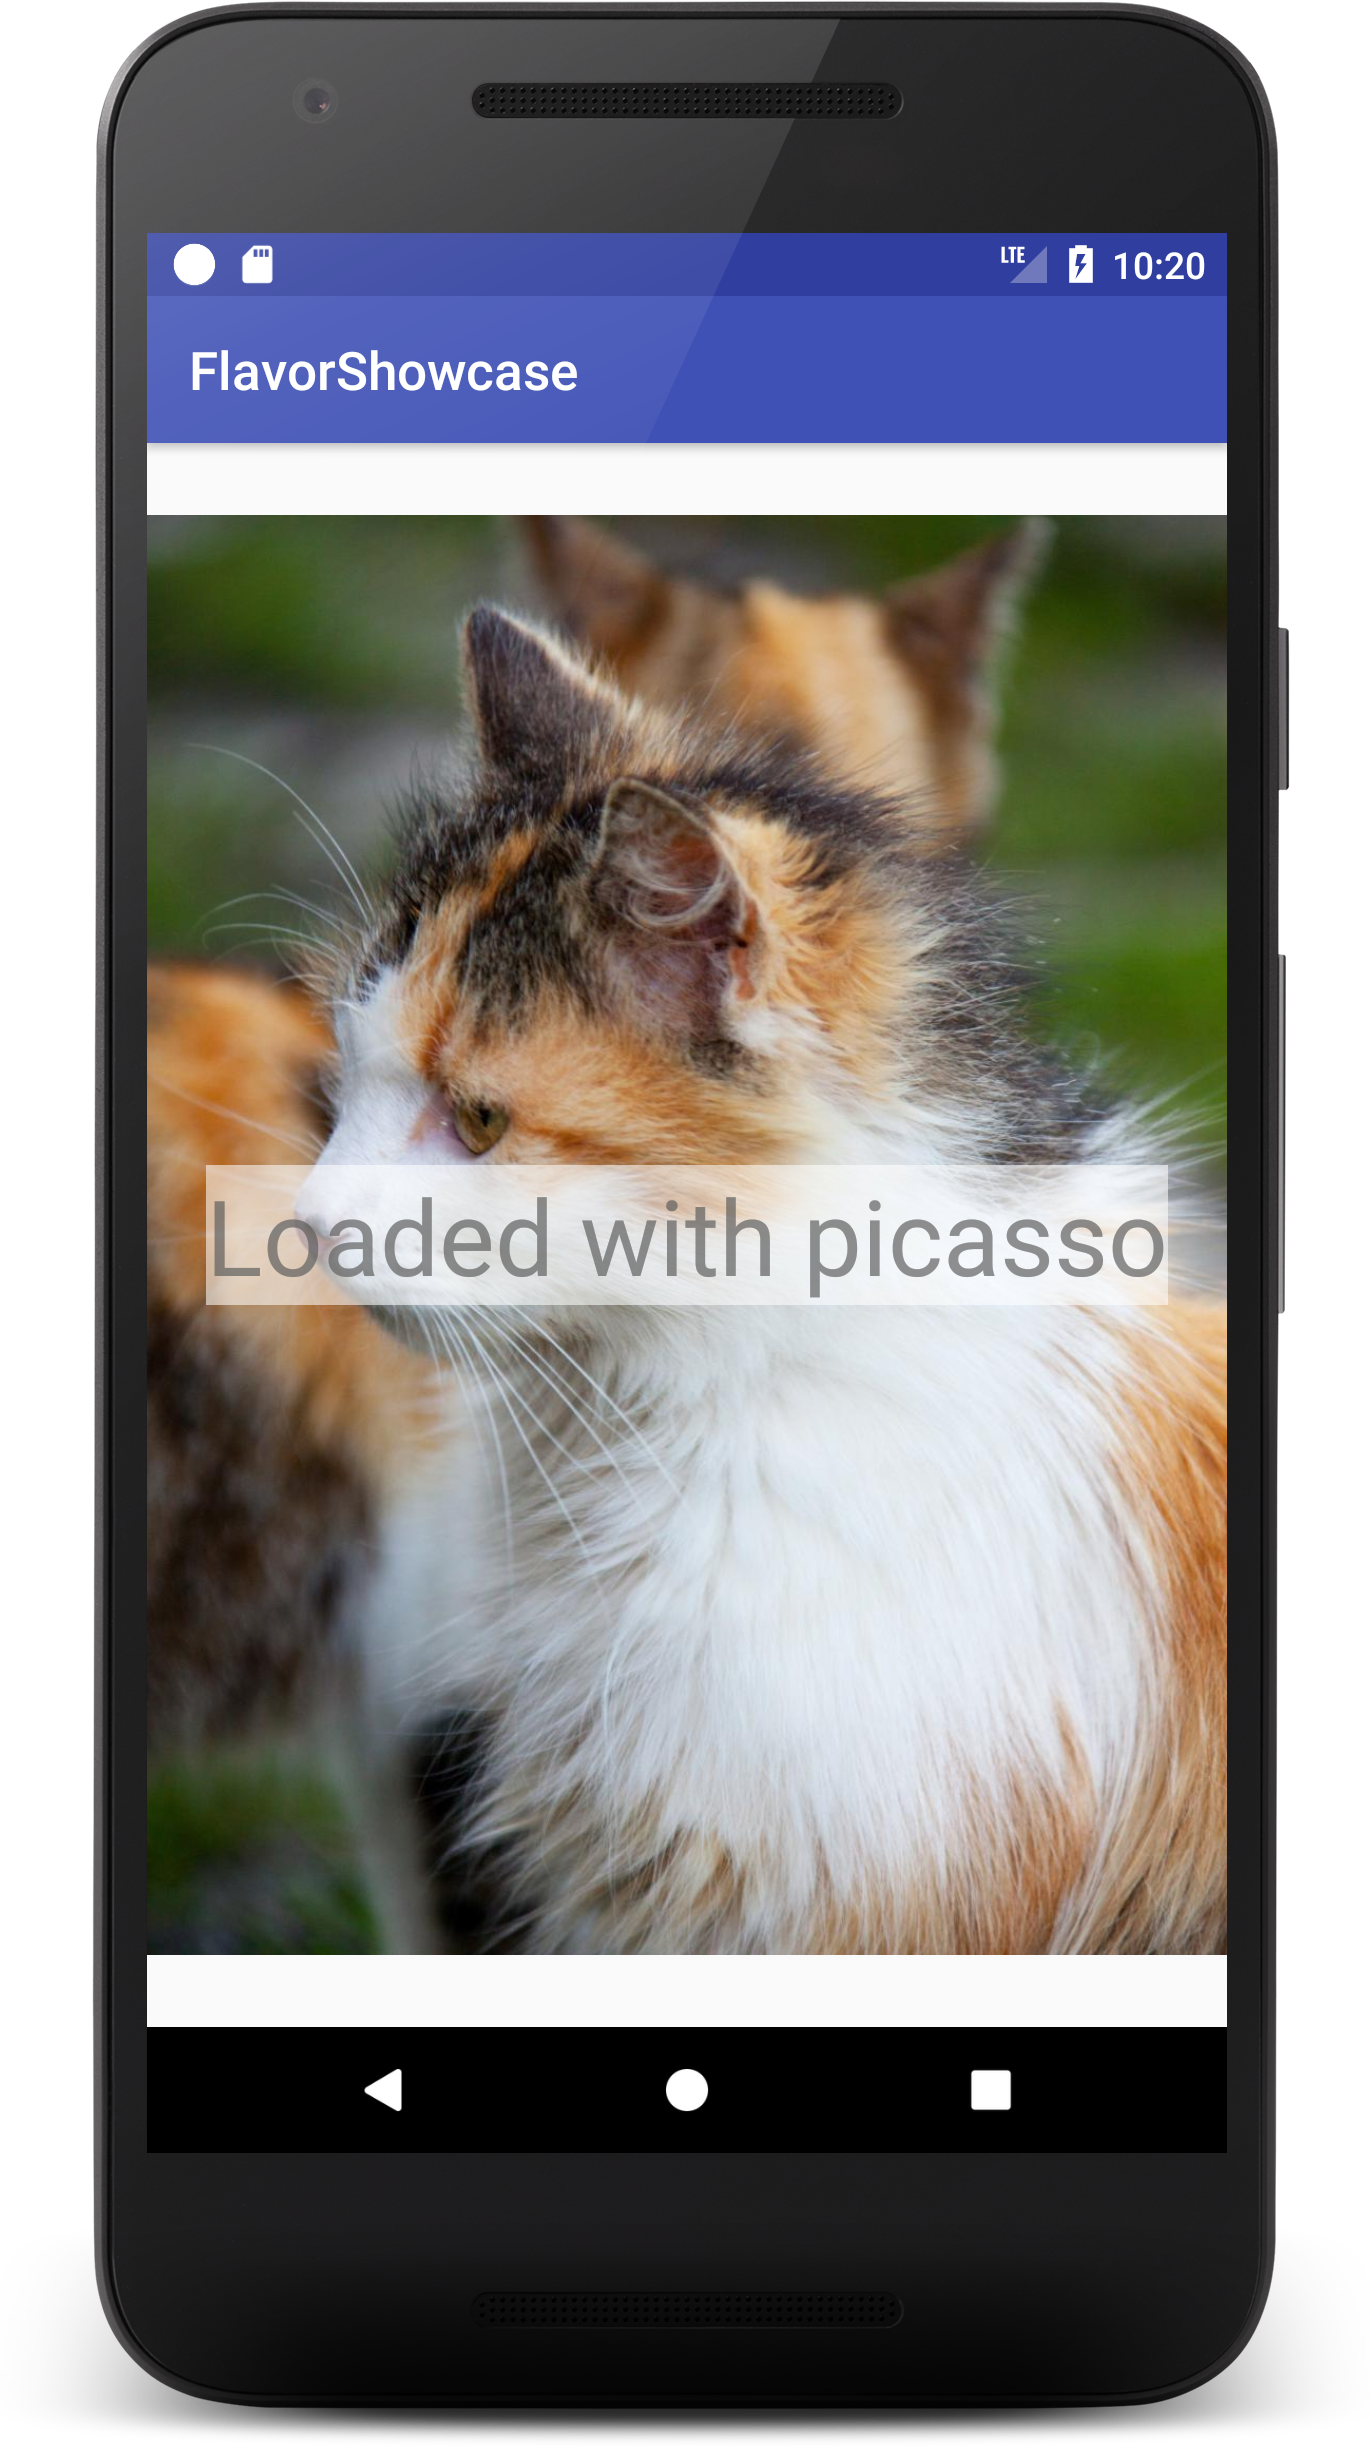
- create an app that shows random image from lorempixel
- create two flavors
- use Picasso in first flavor, in second use Glide
- keep Glide and Picasso imports far away from main code
- provide additional layer of abstraction for image handling
- @Inject image provider
- keep it clean and simple
First of all - create and setup project.
Configure flavors
The simplest solution is to add productFlavor block to your build.gradle, but you can also generate it from gui.
I added to my build.gradle the following:
android {
    /**/
    flavorDimensions "default"

        productFlavors {
            glide {
                versionName defaultConfig.versionName + ".glide." + defaultConfig.versionCode
                applicationId "com.rozkmin.flavorshowcaseglide"
                dimension "default"

            }
            picasso {
                versionName defaultConfig.versionName + ".picasso." + defaultConfig.versionCode
                applicationId "com.rozkmin.flavorshowcasepicasso"
                dimension "default"
            }
        }
}
Add dependencies
Setup Glide and Picasso in separate flavors.
    picassoCompile 'com.squareup.picasso:picasso:2.5.2'
    glideCompile 'com.github.bumptech.glide:glide:4.1.1'

    compile 'com.google.dagger:dagger:2.2'
    annotationProcessor 'com.google.dagger:dagger-compiler:2.2'
{flavorName}Compile is generated for all build variant. You can also use:
    picassoDebugCompile 'com.squareup.picasso:picasso:2.5.2'
    picassoReleaseCompile 'com.squareup.picasso:picasso:2.5.2'
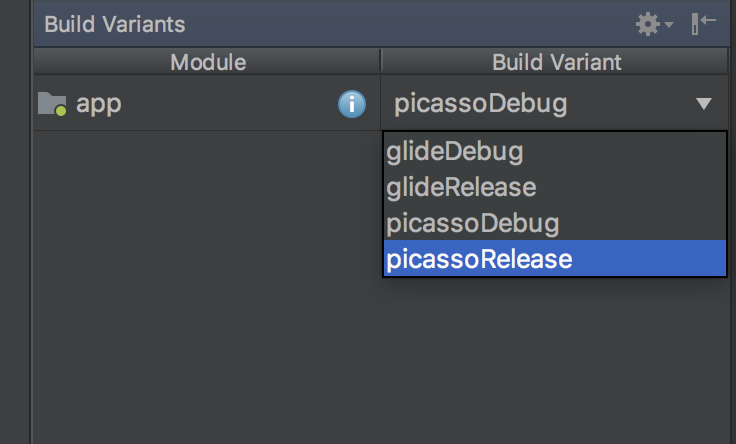
You can choose between flavors in Android Studio:
Write our view with image and text
MainActivity
<?xml version="1.0" encoding="utf-8"?>
<FrameLayout xmlns:android="http://schemas.android.com/apk/res/android"
    xmlns:tools="http://schemas.android.com/tools"
    android:layout_width="match_parent"
    android:layout_height="match_parent"
    tools:context="com.rozkmin.flavorshowcase.MainActivity">

    <ImageView
        android:layout_width="match_parent"
        android:layout_height="match_parent"
        android:id="@+id/activity_main_image"/>

    <TextView
        android:layout_width="wrap_content"
        android:layout_height="wrap_content"
        android:layout_gravity="center"
        android:background="#8fffffff"
        android:textColor="#aa595959"
        android:textSize="40sp"
        style="@style/Base.Theme.AppCompat"
        android:id="@+id/activity_main_flavor"
        tools:text="Loaded with Glide"/>

</FrameLayout>
Write some interfaces
Lets create our interface and @Inject it to our MainActivity
public interface ImageManager {
    void loadImage(String imageUrl, ImageView target, Context context);
}
Implementation time
Picasso implementation
app/src/picasso/java/com/rozkmin/flavorshowcase
public class PicassoImageManager implements ImageManager {

    @Inject PicassoImageManager(){}

    @Override
    public void loadImage(String imageUrl, ImageView target, Context context) {
        Picasso.with(context).load(imageUrl).into(target);
    }
}
@Module
public class ImageManagerModule {
    @Provides
    ImageManager provideImageManager(final PicassoImageManager manager){
        return manager;
    }
}
Glide implementation
app/src/glide/java/com/rozkmin/flavorshowcase
public class PicassoImageManager implements ImageManager {

    @Inject PicassoImageManager(){}

    @Override
    public void loadImage(String imageUrl, ImageView target, Context context) {
        Picasso.with(context).load(imageUrl).into(target);
    }
}
@Module
public class ImageManagerModule {
    @Provides
    ImageManager provideImageManager(final GlideImageManager manager){
        return manager;
    }
}
Inject image manager
We created two ImageManagerModule.java files in our flavors dirs. When we switch flavor in gradle, automaticly proper manager will be loaded.
Create dagger component:
@Component(modules = ImageManagerModule.class)
public interface MainComponent {
    void inject(MainActivity activity);
}
And inject it in your MainActivity
public class MainActivity extends AppCompatActivity {

    MainComponent mainComponent;

    @Override
    protected void onCreate(Bundle savedInstanceState) {
        super.onCreate(savedInstanceState);
        mainComponent = DaggerMainComponent.builder().imageManagerModule(new ImageManagerModule()).build();
        mainComponent.inject(this);

        setContentView(R.layout.activity_main);
    }
}
You must build your project to have DaggerMainComponent generated.
Now we can @Inject ImageManager and load some image from network:
public class MainActivity extends AppCompatActivity {

    MainComponent mainComponent;

    @Inject
    ImageManager imageManager;

    ImageView imageView;

    @Override
    protected void onCreate(Bundle savedInstanceState) {
        (...)
        loadImage();
        loadFlavorData();
    }

    private void loadFlavorData() {
        TextView text = findViewById(R.id.activity_main_flavor);
        text.setText("Loaded with "+BuildConfig.FLAVOR);
    }

    private void loadImage() {
        imageView = findViewById(R.id.activity_main_image);
        imageManager.loadImage("http://lorempixel.com/1024/1366/cats", imageView, this);
    }
}
Build project and test all flavors.
Now you can load images without any Glide or Picasso imports in your code!